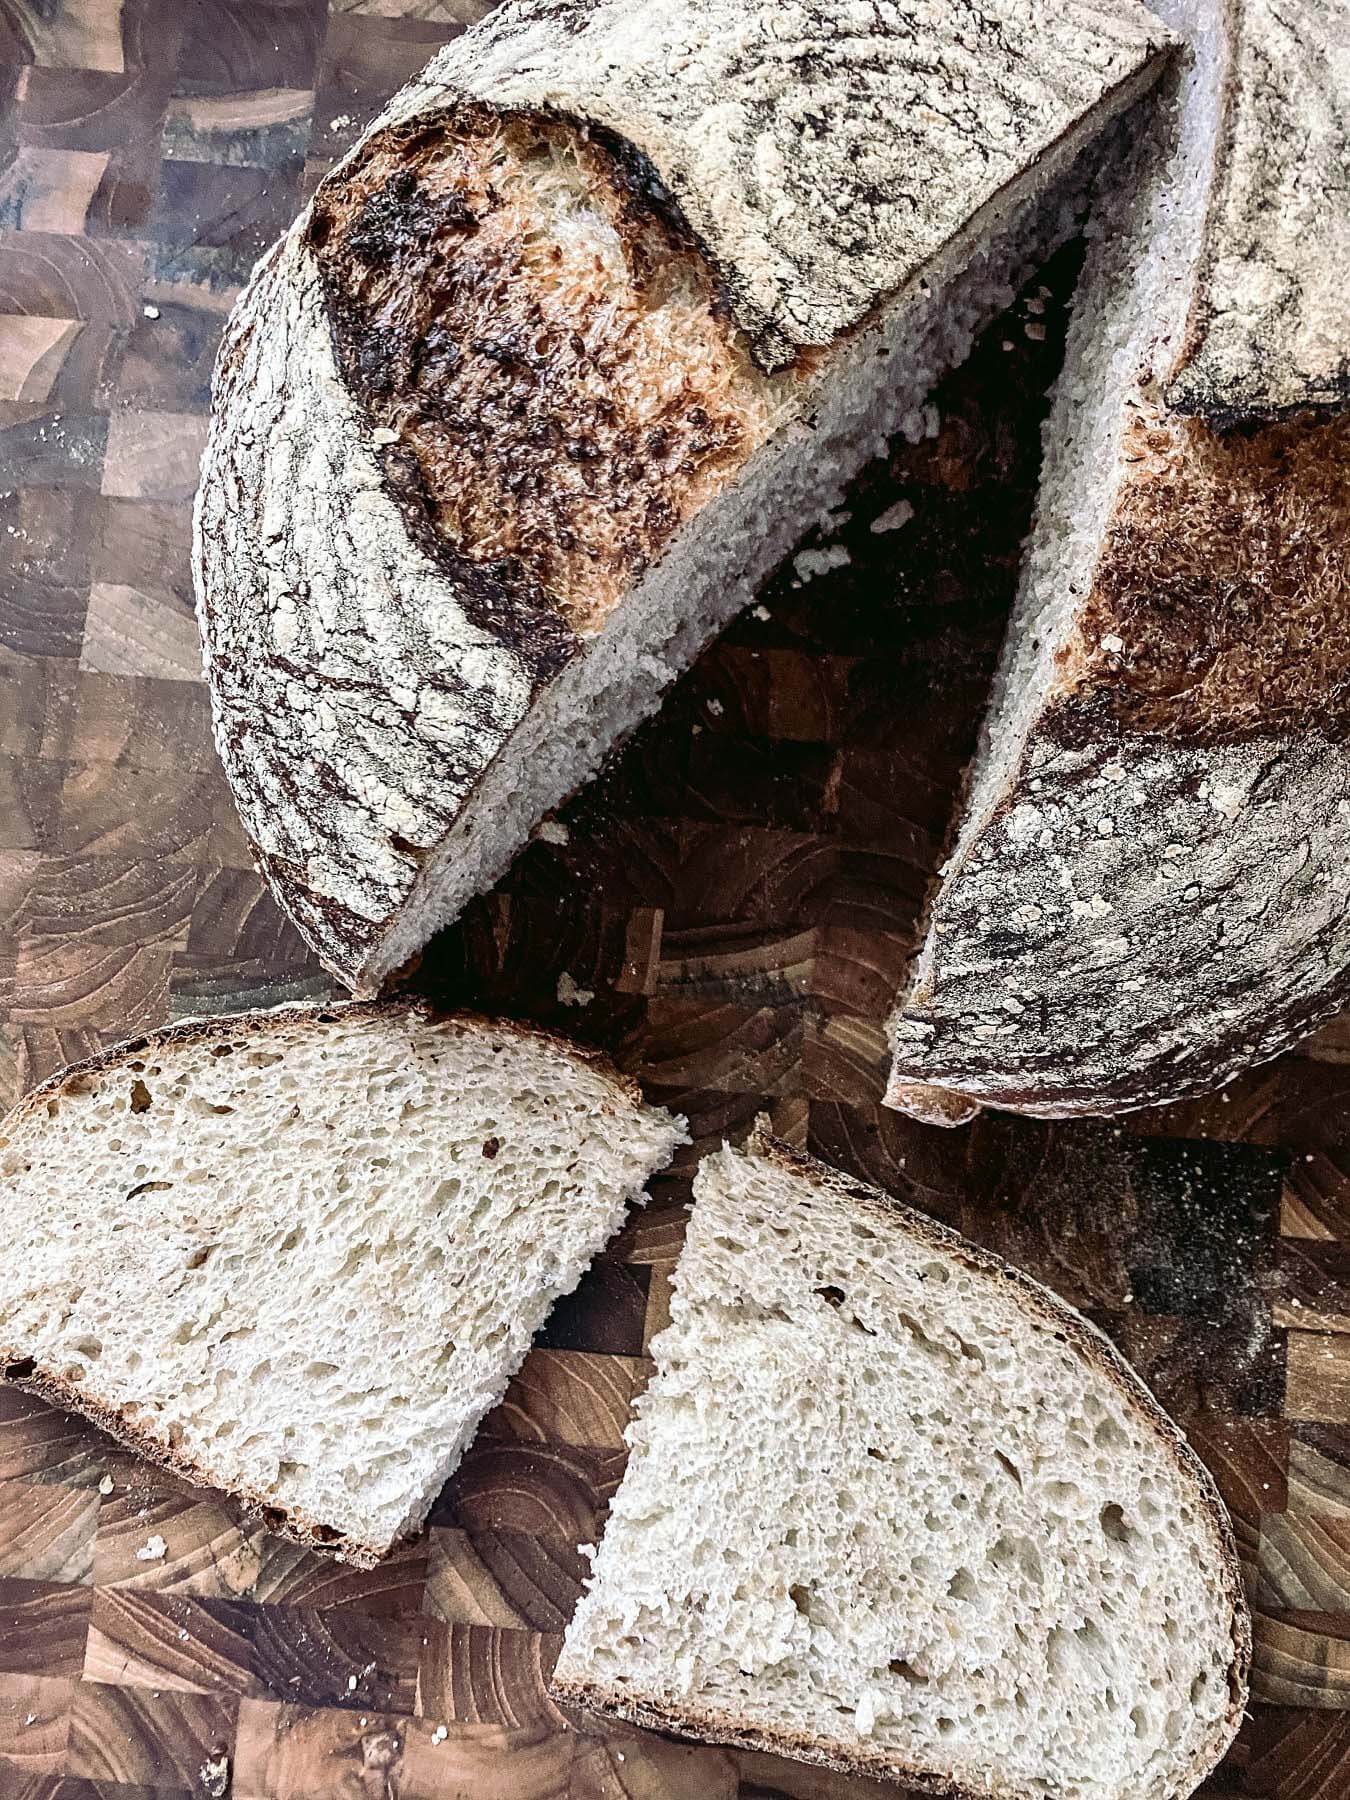
Is there anything more cozy and inviting than the smell of fresh bread baking? I think not. There is so much pride and satisfaction that comes from making your own bread — especially sourdough. It has been around forever — in fact, a “starter” was once regarded as a vital necessity. When commercial yeasts were introduced in the 19th century, however, sourdough bread saw a quick decline in popularity. I am so happy to see it’s making a comeback! A sourdough starter is a live culture made from only flour and water. Once combined, the mixture ferments and “wakes up” the natural wild yeasts and bacteria present within the flour. It takes a few days to get the starter strong and active, but it can happen in as little as five days. Once the starter is established, you offer it daily feedings and use a bit of the bubbling starter to make your bread rise.
Note: The only tool I find to be a necessity in your sourdough journey is a kitchen scale that you can use to weigh your ingredients. Other than that, don’t be afraid to jump in!

How to Make a Sourdough Starter: 5-Day Guide
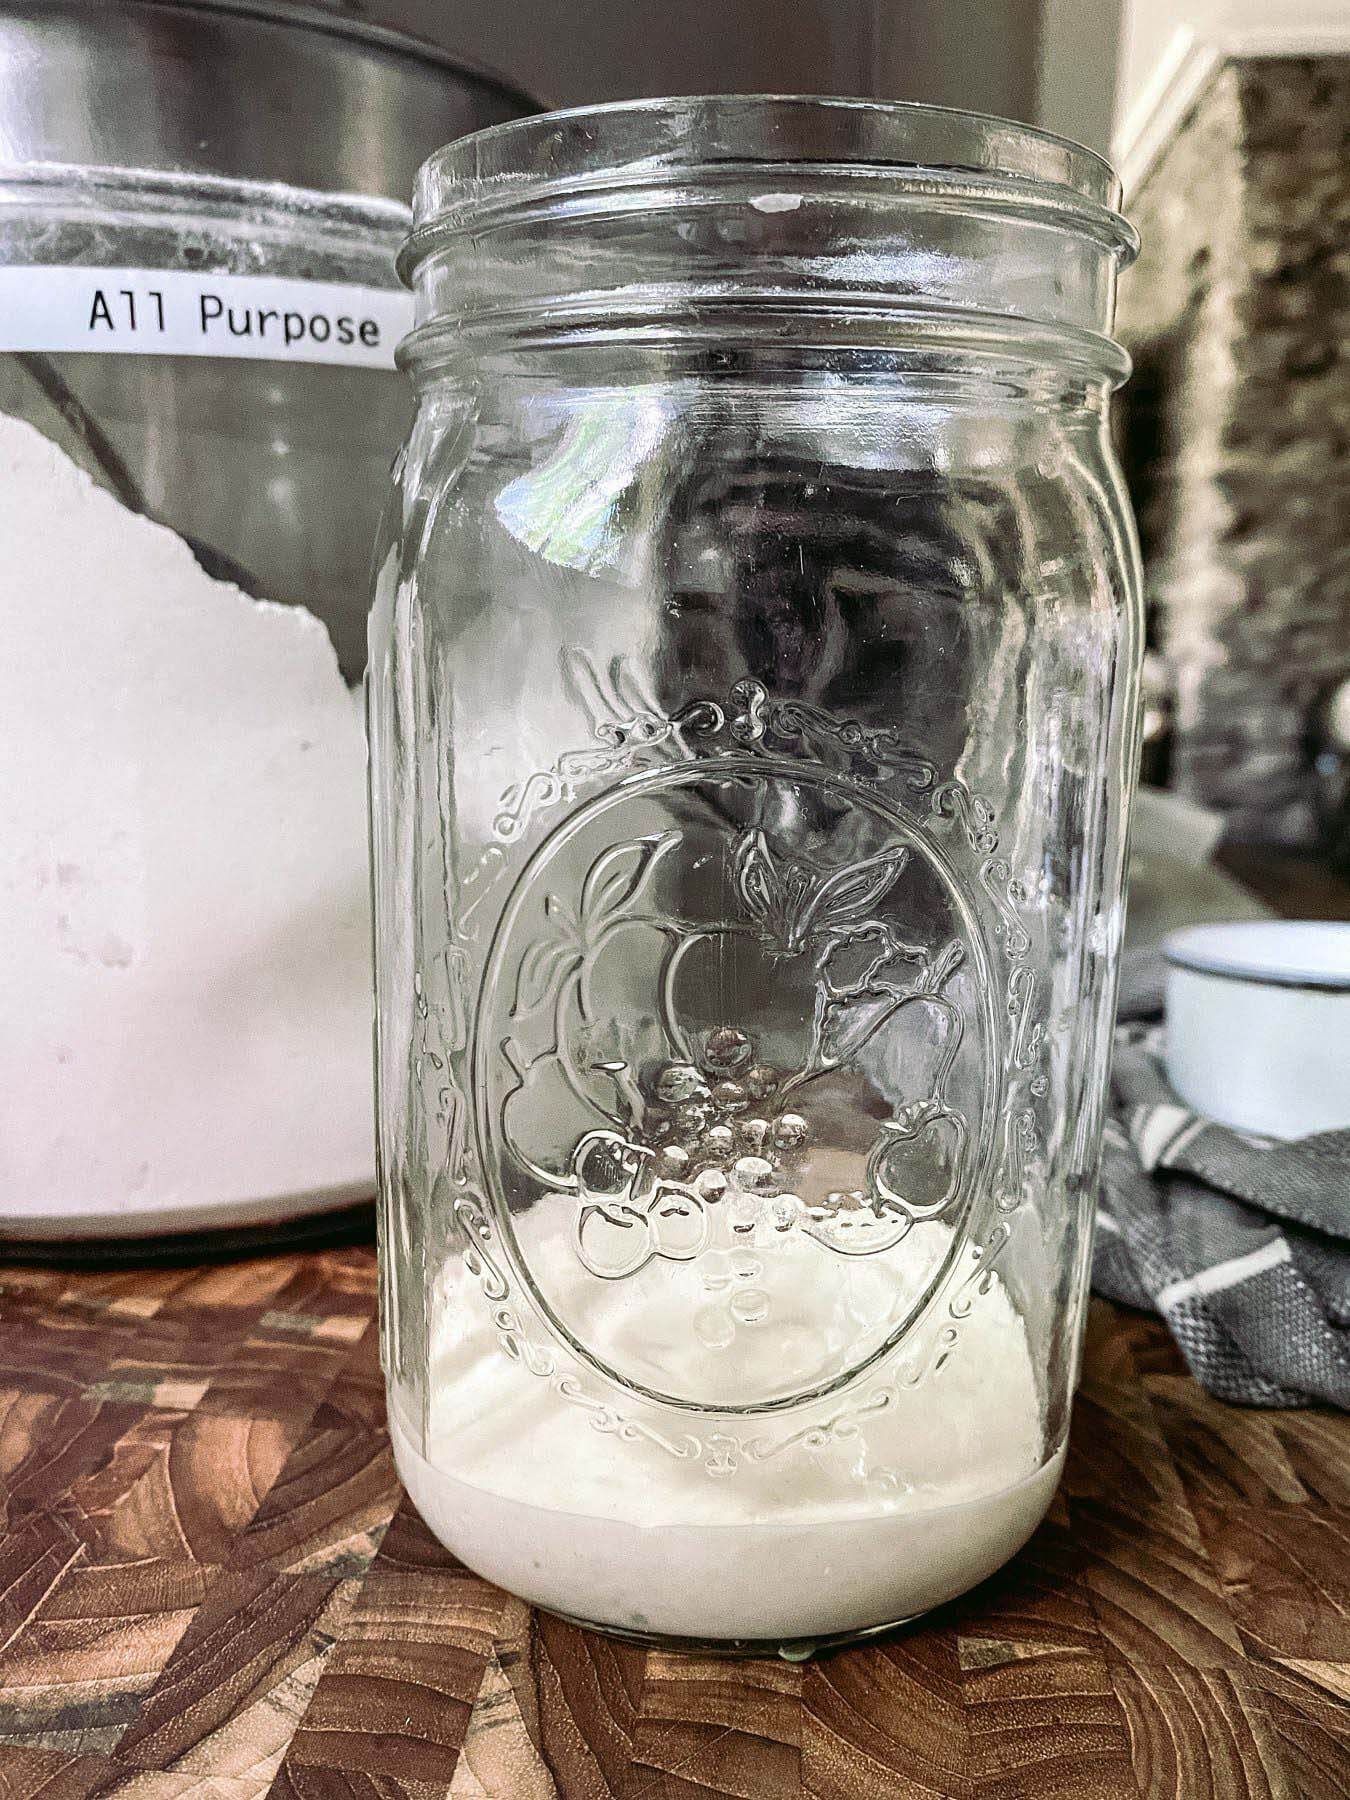
Day 1: In a clean jar, combine 4 oz. of water and 4 oz. of unbleached all-purpose flour. Cover it with a cloth and place it on your kitchen counter in a warm spot.
Day 2: Add 4 oz. of water and flour to your starter. Stir to combine, then cover it and put it back on the kitchen counter.
Day 3: You should start to see some tiny bubbles today. Discard half of the starter and add 4 oz. of water and flour. Stir, then cover it and place it on the kitchen counter.
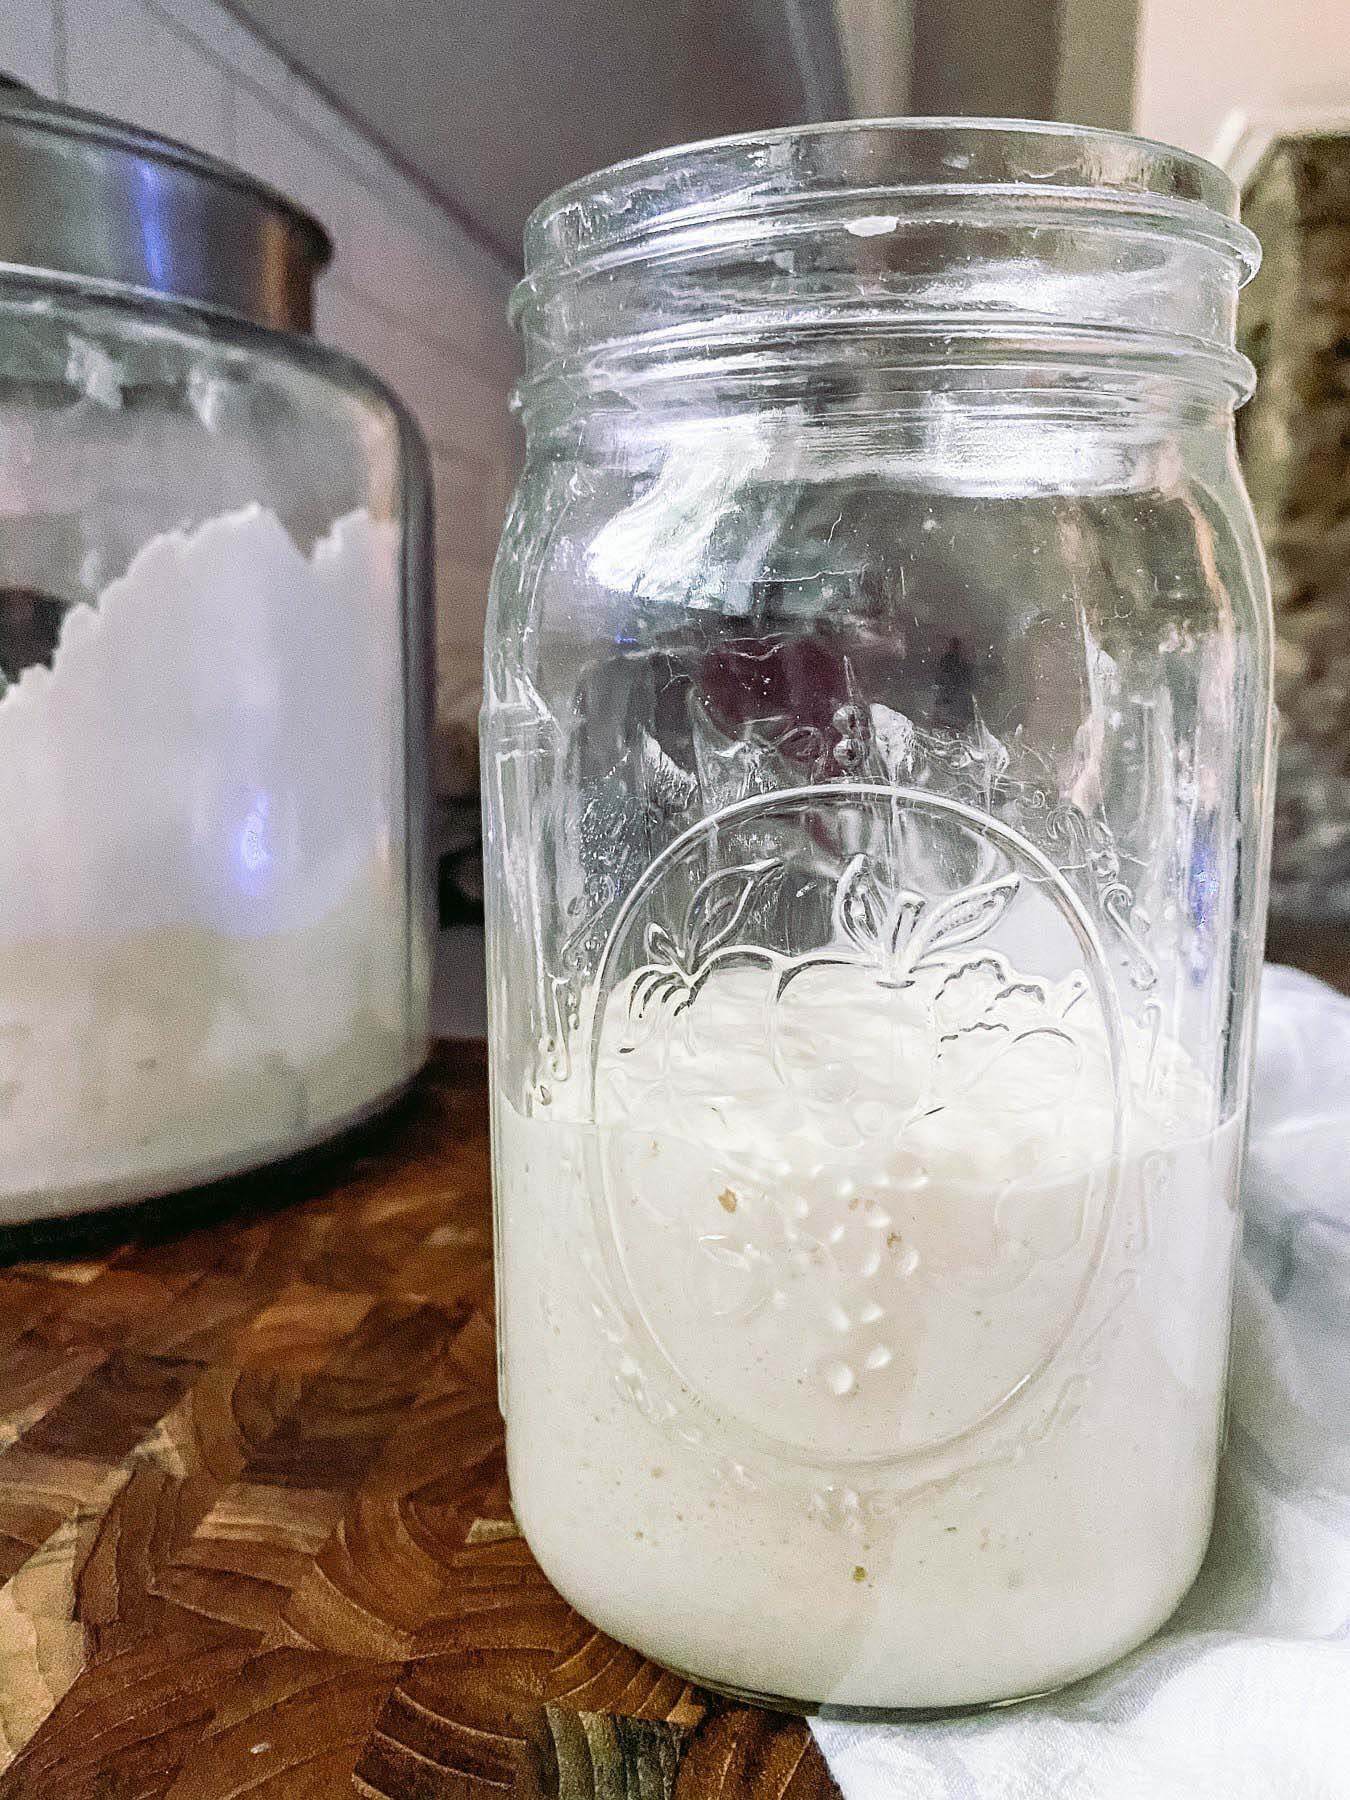
Day 4: Today, there should be lots of bubbles. Like the previous day, discard half of the starter and add 4 oz. of water and flour. Stir to combine. Cover it and put it back on the kitchen counter.
Day 5: If your starter looks foamy, bubbly or frothy, it’s time to test your starter to see if it’s ready to use. Do a float test by gently dropping a small amount (1 tsp) into a shallow bowl filled with warm water. If your starter floats, it is ready to use; if it sinks, proceed with the new feeding schedule below.
RELATED: Homemade Bread: The Easiest Recipe Ever
Establishing a sourdough starter can be a real test of patience, but if it isn’t quite ready after day five, don’t worry. If you see bubbles, proceed with the directions below. Establishing a starter can take up to 14 days, and the temperament of its environment has a lot to do with how quickly it’s ready.

Troubleshooting Your Sourdough Starter After Day 5
If your starter is not yet ready by day five, here’s what you need to do:
1. Discard half of the starter. Whisk in 1/2 cup (60 grams) of flour and 1/4 cup (60 grams) of water, but if the starter seems runny, reduce it to 40 grams of water.
2. Place the mixture in a warm spot and check back each hour, for one to four hours. You may see growth; if the growth has begun, you are good to use the starter. If not, don’t sweat it — just start repeating that same process every 12 hours or so, and within a day or two, you should be ready to bake.
If you have trouble getting your starter to take off, feel free to message me on Instagram, and I will happily advise you.
Feeding Your Sourdough Starter
Once your starter is established, you want to keep it happy and healthy. Feeding a sourdough starter involves combining the starter, flour and water in a particular ratio to ensure the starter has the “food” it needs to stay healthy and active. The sourdough starter can be fed by either weight or volume measurements. Feeding by weight is considered more accurate, but feeding by volume is usually more convenient, as most people have measuring cups in the kitchen.
Every baker has a method, but I typically begin by discarding about half of the starter and feeding it with equal weights of flour and water — I typically do 60 grams of each. Then, I whisk it with a fork until it’s lump-free. Finally, I let it rest at room temperature (or in a warm spot) until it becomes bubbly and doubles in size. Then, you can use it to make bread dough. It can take anywhere from two to 12 hours for your starter to double in size. It depends on the temperature and the condition of it.

Room Temperature Sourdough Starter
1. Discard about half of the starter. Add 60 grams of flour (1/2 cup) and 60 grams of warm water (1/4 cup) to the remaining starter. Mix well, cover it, and let it rise at room temperature until it is bubbly and has doubled in size.
2. Use the starter to prepare bread dough within two to four hours of being fed to ensure the starter is at its peak of activity.
A starter kept at room temperature must be fed daily. If you miss a day or two, that’s okay, just try to remember daily feedings.
Note: A brown liquid layer in your starter is normal and called “hooch,” which indicates the starter is hungry and needing to be fed. If hooch forms, try to pour off or discard as best as you can, then feed your starter immediately.
Refrigerated Sourdough Starter
If you don’t bake very often, maybe only weekly or monthly, it may be more practical to keep your sourdough starter in the refrigerator in a tightly-closed container and feed it once per week.
1. Remove at least 60 grams of your starter from the fridge. Discard the rest. Feed your starter with 60 grams of flour and 60 grams of water, then cover it and let it sit for one to two hours at room temperature until it’s light and bubbly.
2. Put a tight lid on the jar and return it to the refrigerator.
Repeat this weekly, even when you’re not baking with your sourdough culture.
RELATED: The Local Vegan’s Bailey Rae: FACES of Nashville
Preparing Your Refrigerated Sourdough Starter for Baking
Refrigerated sourdough starter is in a state of hibernation. Before using it for baking, follow these instructions for making a fresh sourdough starter. This will ensure your sourdough starter is fully awakened and active enough to leaven bread.
1. Take the starter out of the fridge and discard all but 60 grams. Feed it as usual. Let it rest at room temperature for about 12 hours, until bubbly. Repeat this step as necessary, every 12 hours, until you notice the starter doubling or tripling in volume within six to eight hours. That means it’s strong enough to leaven bread.
2. Once the starter is bubbling, remove what you need for the recipe and set it aside. Feed the remaining starter as usual. Mix it until it’s smooth, and allow the starter to work for about two hours at room temperature before putting it back into the refrigerator.
Sourdough with Bread Flour
Once your starter is established, you can begin baking your sourdough bread. I demo each step in a video for this loaf on my Instagram IGTV channel.

Sourdough with Bread Starter
Ingredients
- 50 grams 1/4 cup + 2 tbsp of bubbly, active starter
- 350 grams 1 3/4 cups warm water
- 500 grams 4 cups bread flour
- 9 grams 1 tsp fine sea salt
Instructions
- Whisk together the starter and water.
- Add the flour and salt. Mix until a rough dough forms.
- Cover with a damp towel and let rest 30 minutes. Gently shape into a ball (see IGTV video). Cover again with a damp towel and let bulk rise for eight to 24 hours.
- Shape: Gently remove the dough from the bowl onto a heavily floured surface and shape it into a ball (see IGTV video).
- Proof: Place the dough ball in a floured proofing basket bottom side up and let rise for 30-60 minutes until slightly poofed up.
- Preheat the oven to 450 degrees.
- Score: Transfer the dough to the cooking vessel and carefully slice a cut on the top of the loaf.
- Bake: Place lid on cooking vessel and bake for 20 minutes covered, remove the lid and cook an additional 20-30 minutes until golden brown.
- Let cool 30 minutes before slicing.
Nutrition
For more recipes and videos to bake along with, follow Bailey on Instagram. All photos courtesy of Bailey Rae.
**********
Find more amazing recipes and meal ideas in our archives. Click HERE!


