Late last fall we purchased our neighbor’s house as an investment property. I know, lucky us. But, the house was in very poor shape and needed new everything. This explains why the selling price worked. We also bought directly from the seller, before it was listed, which lowered the price. But, all this meant that we were in for one heck of a project in order to have the house ready to rent by summer. Adding this on top of our family of three active children and parents with 2 full-time jobs has made the last 6 months a wee bit insane. But, it rented quickly, with a backup offer, so we’re in recovery mode now! Today, I’m walking you through this house transformation.

The exterior:
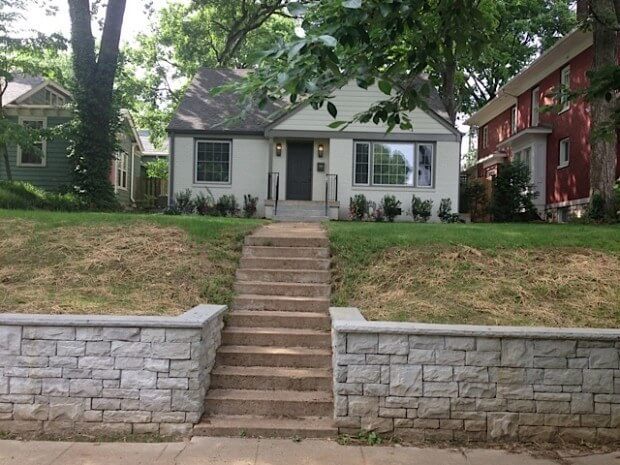
StyleBlueprint-Fixer-Upper-30-620x465Pin

StyleBlueprint Fixer Upper 30Pin
Let’s look at this “after” again — so pretty!

We used Trace Ventures as our contractor for a few reasons, but most importantly because they provided an on-site manager each day and gave us the most comprehensive bid, which included quotes from all the necessary subcontractors. Their turnaround for the bid was timely and professional. Our other two bids were not nearly as comprehensive and had not touched on some major plumbing and electrical issues that Trace found during the estimating process for the bid. (These are two areas that add significantly to any construction project, for the record.) This house was is in dismal shape and we wanted to know upfront, to the extent that we could, what this project would cost. While Trace was not the cheapest bid, we thought their proposal did reflect the most realistic price, and we were not surprised by an onslaught of change orders throughout the process.

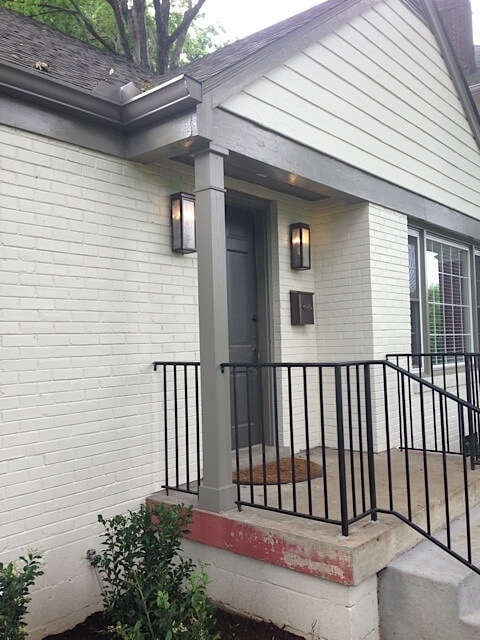
StyleBlueprint Fixer Upper 17Pin
An added handrail, new steps and paint. And, notice the new column to the left of the door.
StyleBlueprint Fixer Upper 15Pin
We did not replace the landing, but everything surrounding it is new and fresh. In a couple of years, those bushes will be big enough to hide the existing red edge!

We worked with Beth Haley Design for the renovation plans. I met Beth through a StyleBlueprint piece last year, and since she has a full-service design firm, a designer was available to start immediately. We liked that she understood what our budget was and why: this was a rental house, but we wanted it to be nice. We ended up with just what we needed without someone trying to push us outside of our budget – perfect!

When the dust settled, we realized this house is more than a rental; it is one that we would happily live in!
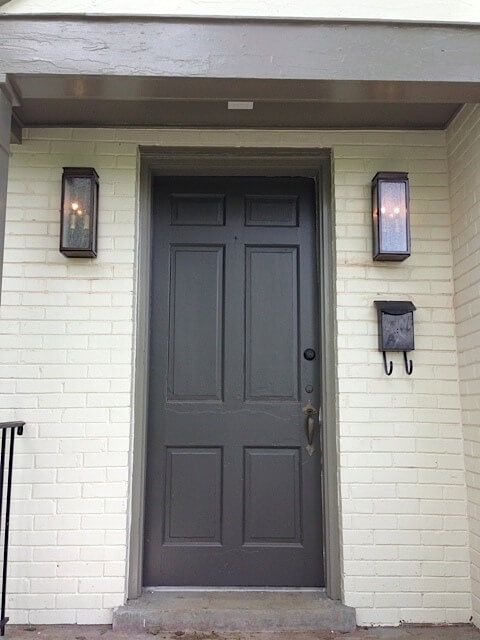
StyleBlueprint Fixer Upper 1Pin
In addition to installing a mailbox and lights at the entry, we also added an electrical outlet in the ceiling for Christmas lights!
StyleBlueprint Fixer Upper 16Pin
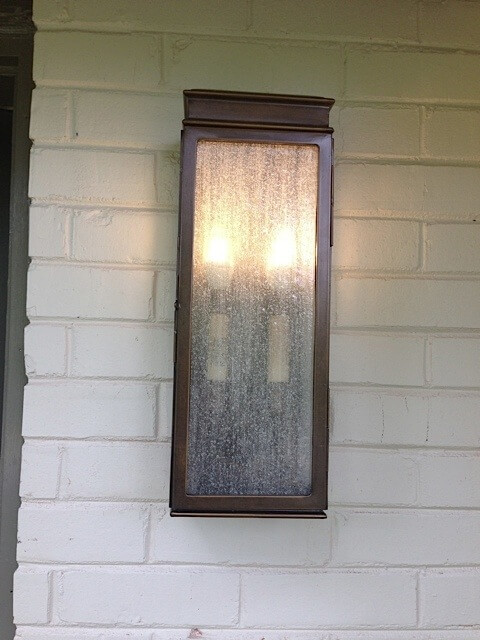
Exterior lights by Murray Feiss were $165 each, at Lighting Universe.
StyleBlueprint Fixer Upper 3.jpgPin
We decided to paint the exterior window trim, to bring depth and detail to the windows.
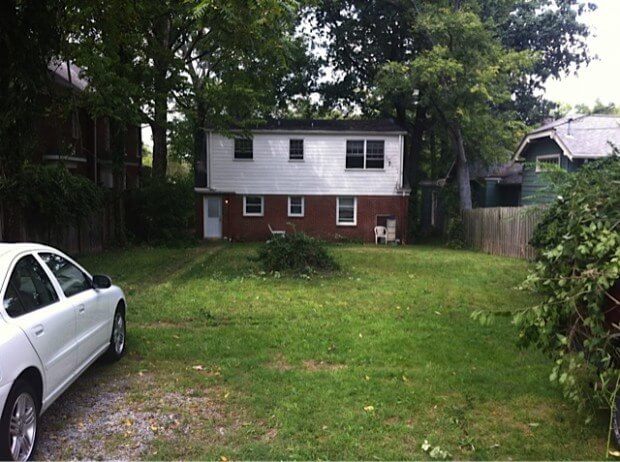
StyleBlueprint Before House 20Pin
Before: the back of the house.
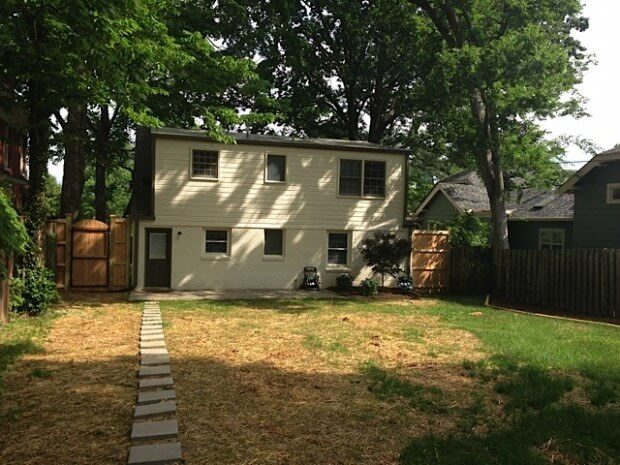
StyleBlueprint Fixer Upper 31Pin
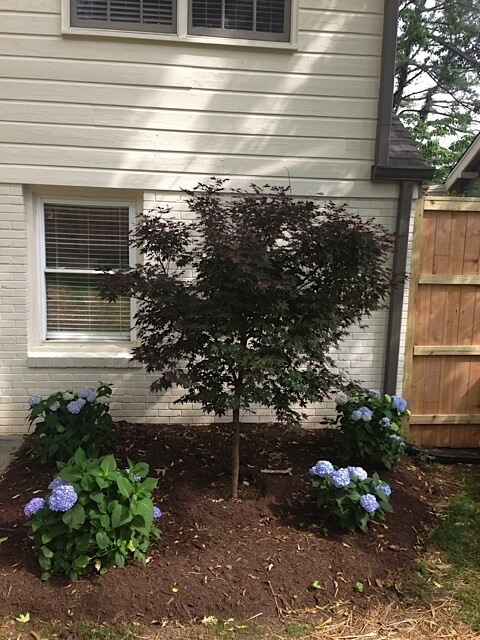
After:  the work we did on the back of the house is a huge improvement. Painting the exterior one color, and not trimming out the windows in a different color helps hide the fact that all the windows are different sizes! The newly planted Japanese Maple fills in some blank space along the wall, and as it grows taller, the tree will become a nice focal point on this facade.

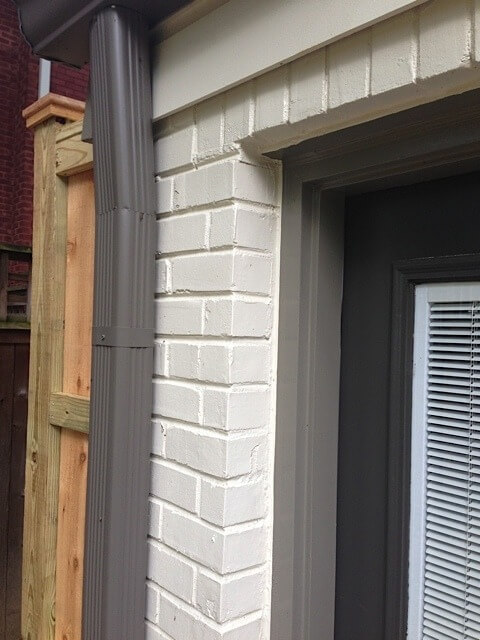
StyleBlueprint After 100Pin

StyleBlueprint After Trace 105Pin
Here’s a photo of the back door. All the colors work well together. Note: we did trim out the back door, even though we did not do the windows.

Now for the interior:

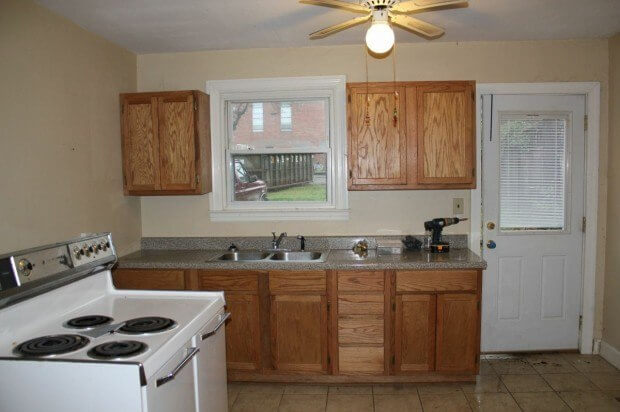
StyleBlueprint BEFORE 8Pin
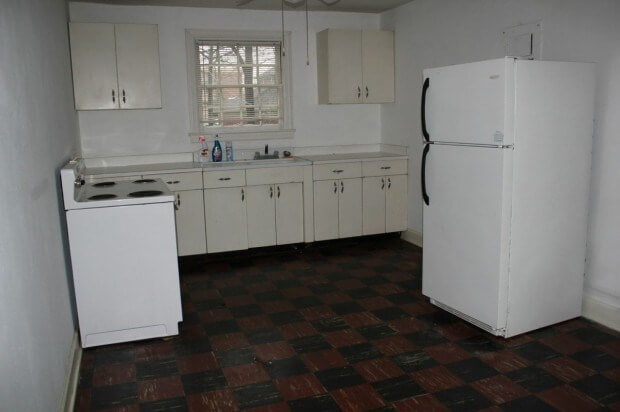
Before: kitchen
StyleBlueprint After Trace 1Pin
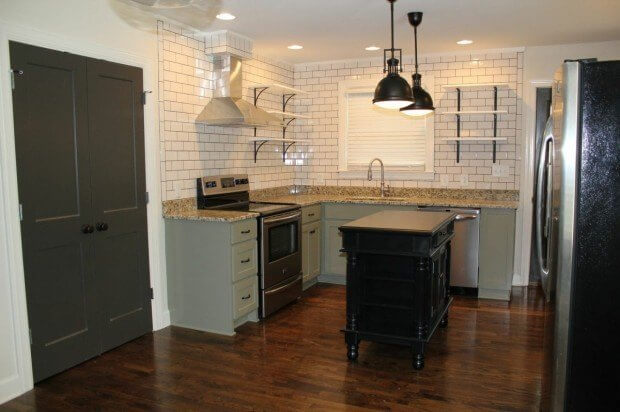
After: WOW what a difference! That door to the left of the stove is a HUGE pantry.

The cabinets are painted Benjamin Moore Storm Cloud Gray. We had planned to use white on the kitchen cabinets, and that would have been pretty. But, sitting at the hair dresser the day the cabinet paint was being picked out, I freaked out over having a rental house with white cabinets, as I wanted easy maintenance and was worried about dirt. So, a quick look on Pinterest — via my phone — led me to this color. Yes, I picked my paint color from Pinterest without testing it, but I think it turned out really pretty!
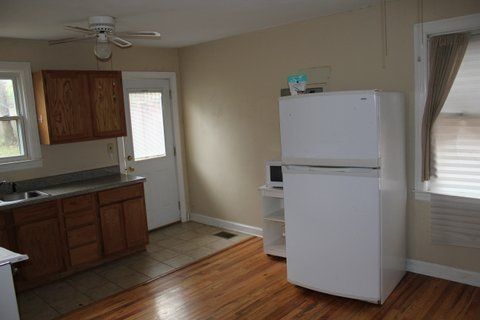
 

StyleBlueprint BEFORE 14Pin
Before: kitchen
StyleBlueprint Fixer Upper 7.jpgPin
After: kitchen. Note the additional cabinets on the left of the refrigerator. There is additional shelving there as well. The center island provides even more storage.
StyleBlueprint BEFORE 7Pin
Before: kitchen. See that hole? That is where we are about to tear through the wall to make the house one residence and no longer a duplex. There are stairs right behind that wall.
StyleBlueprint After Trace 2Pin
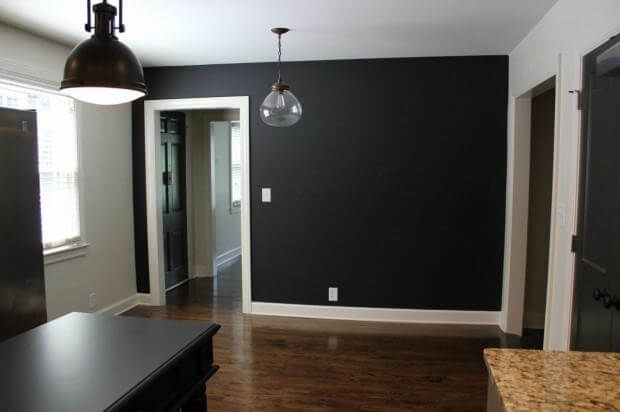
After: that same wall now has a doorway that leads to the upstairs and creates a passthrough to the living room. We painted this wall with chalkboard paint. The clear pendant with Edison-style bulb is allen+roth from Lowes, $118.
StyleBlueprint Fixer Upper 26Pin
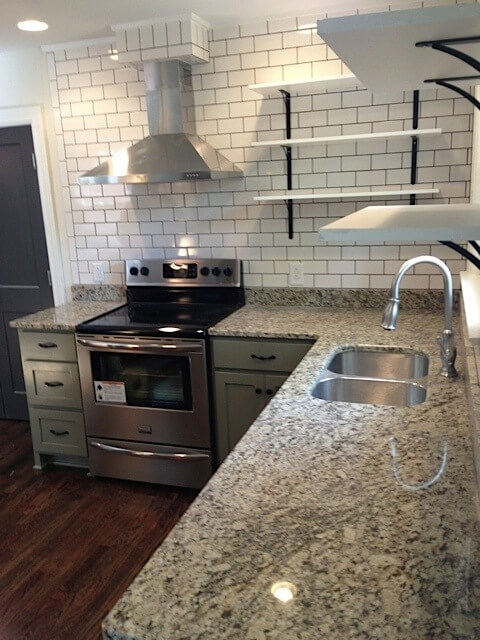
A close-up of the different colors of white used in the kitchen. I chose a dark gray grout at the last minute, as I didn’t want grout stains. I love how it turned out!
StyleBlueprint Fixer Upper 13Pin
Another view of the open shelving, tile and grout. Not only did using open shelving (instead of upper cabinets) save a lot of money, it’s a look I personally like a lot and it opens up a small kitchen.
StyleBlueprint Fixer Upper 22Pin
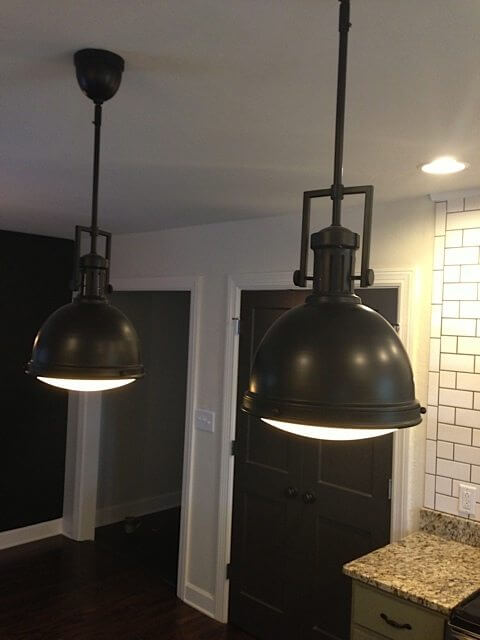
Savoy House pendant lights, found at Lighting Universe for $128 each.
StyleBlueprint BEFORE 2Pin
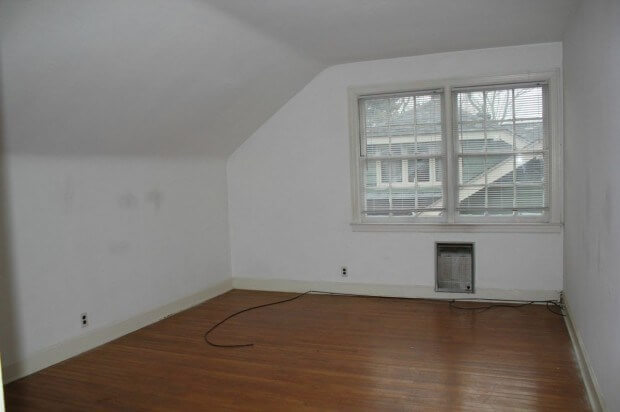
Before: Since this was a duplex, there was an upstairs kitchen, as well. Now it’s a bedroom (see below).
StyleBlueprint After Trace 14,jpgPin
After: the kitchen is now a carpeted bedroom with two closets, one of which is a walk-in.
StyleBlueprint BEFORE 3Pin
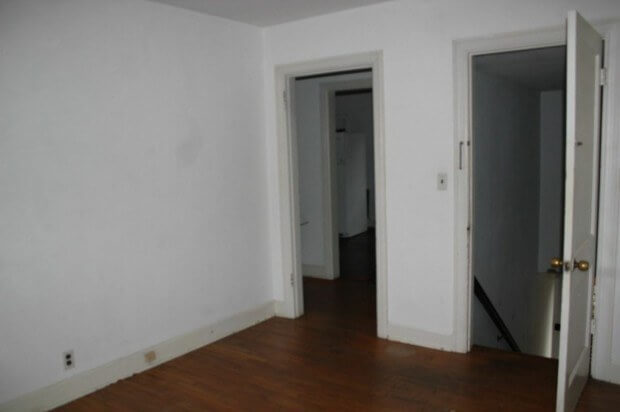
Before: the main room upstairs.
StyleBlueprint BEFORE 1Pin
Before: a view from the opposite direction of the same main, upper room.
StyleBlueprint After Trace 15Pin
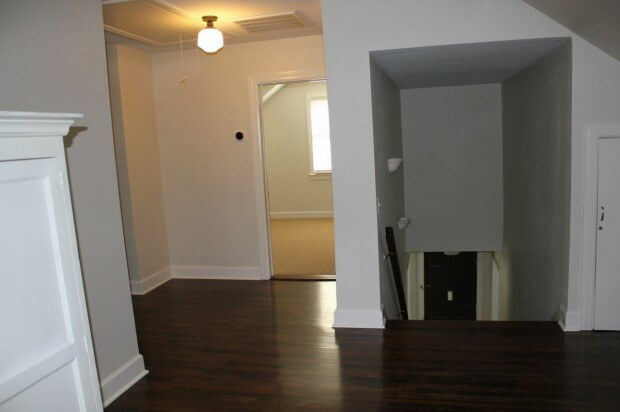
After: we tore out some walls and removed the door and casings, as well as added new paint, new color for the wood floors and new lighting. If you look down the stairs, you can see how you can go out the side door (once the main entrance to the upstairs duplex) or turn left for the kitchen or right for the living room.
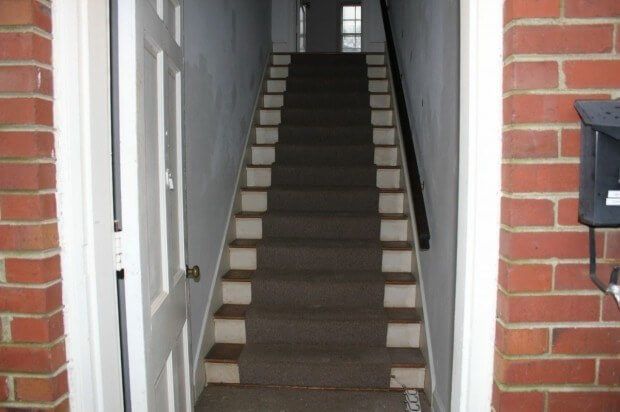
Before: StairsPin
Before: stairs
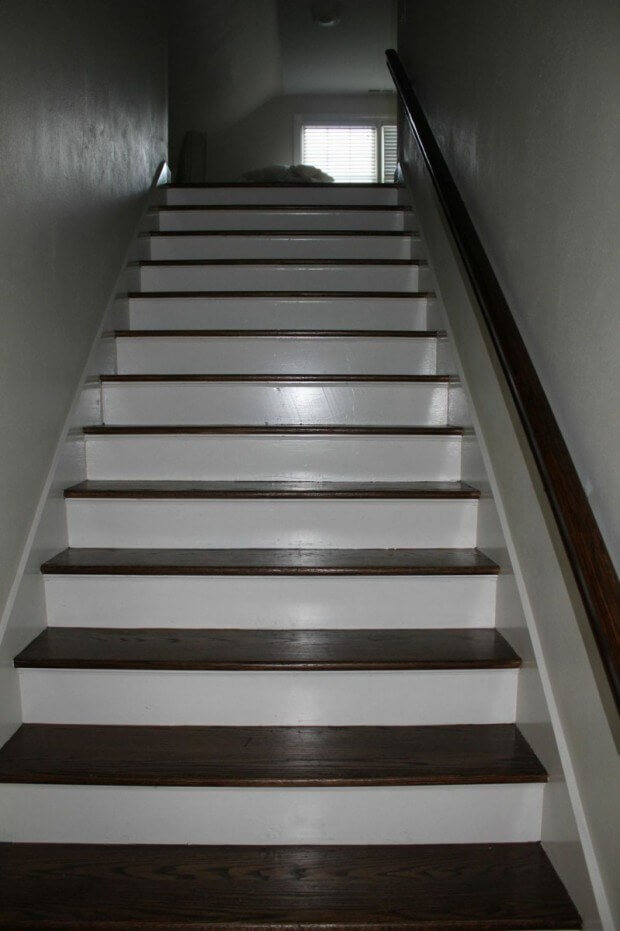
After: StairsPin
After: stairs
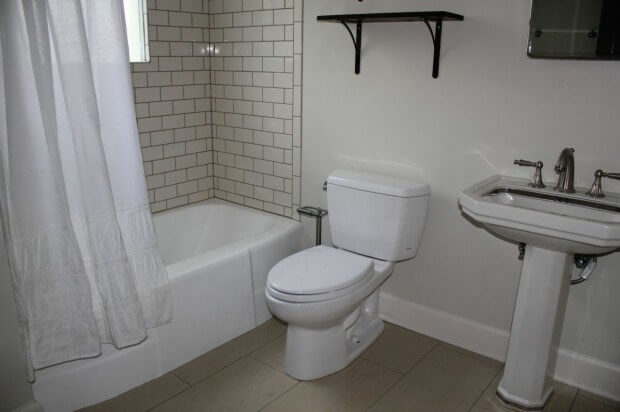
Before: Downstairs bath Pin
Before: downstairs bath
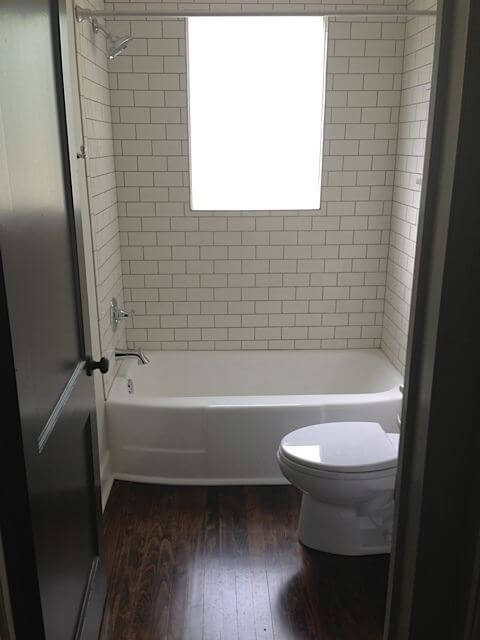
After: Downstairs bathPin
After: downstairs bath. Again, we used a darker grout color–this time a mushroom color–for the floor and wall tile to cut down on maintenance. We also made sure to have high Toto toilets. Toilets are not something to skimp on!
After: Upstairs bathPin
After: upstairs bath
Before: Living roomPin
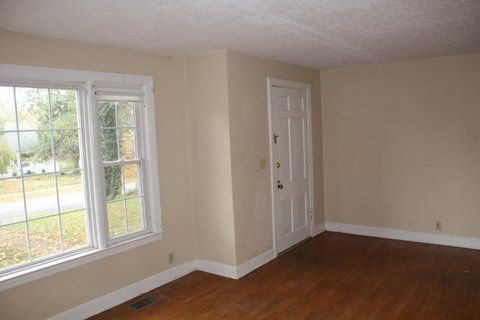
Before: living room. Notice the popcorn ceiling.
After: Living roomPin
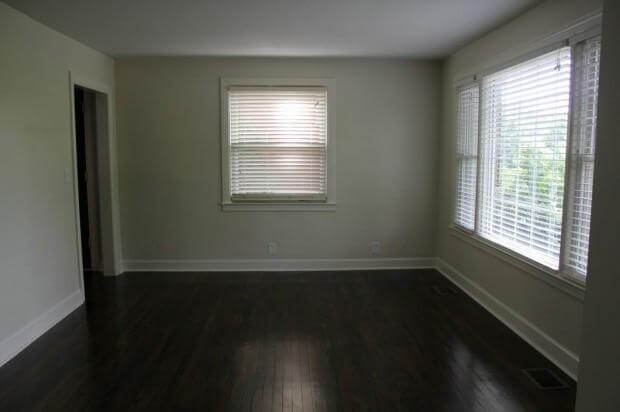
After: living room. We added blinds to the whole house, Levelor blinds from Lowes, which they cut for free.
After: the hallway now has all doors painted FILL IN with bright fresh new paint on the walls and trim.Pin
After: the hallway now has all doors painted Urbane Bronze with bright, fresh new paint on the walls and trim.
We chose these lights from Home Depot, instead of some Pottery Barn lights previously picked out. After paying $2K extra to get the water pressure right, we needed to save money somewhere! Pin
We chose these lights from Home Depot on sale for $37.41 each (reg price $49.88), instead our first choice, which were $186 each. The online reviews of this light were strong and after paying $2K extra to get the water pressure right (an unforeseen expense), we needed to save money somewhere else! We figured our renters would rather have really good water pressure than the first choice for ceiling lights! These are in each bedroom, the “bonus” room,  and in all hallways, for a total of 8. The lighting swap saved $1189.72.
StyleBlueprint Fixer Upper 9Pin
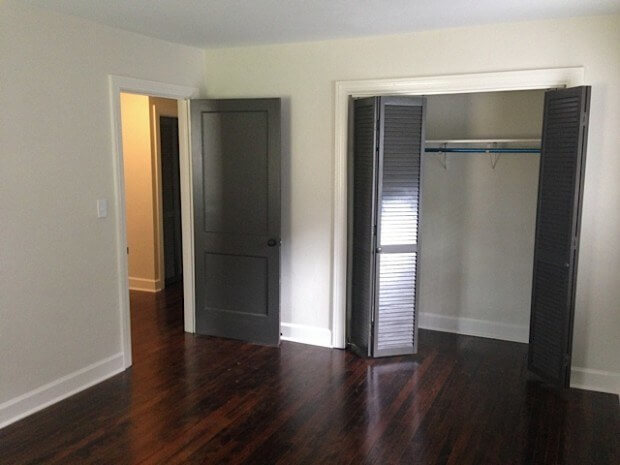
Even the closet doors are painted Urbane Bronze.

It’s all finished and it’s an amazing change, huh?!


Resources: 

  • Contractor: Trace Ventures
  • Designer: Beth Haley Design
  • Exterior Sherwin Williams paint colors (all are No VOC): Brick, 7568 Neutral Ground; Trim: 7046 Anonymous; Doors: 7048 Urbane Bronze
  • Roof shingles: Weathered Wood
  • Interior Sherwin Williams paints (all No VOC, Harmony): Trim: 7012 Creamy, semi-gloss; Walls: Natural Choice, eggshell; Breakfast room wall: Chalkboard Paint; Ceilings: Reserved White, flat; Doors: Urbane Bronze, semi-gloss.
  • Kitchen Cabinet paint color:  Benjamin Moore Storm Cloud Gray.
  • Floor stain: Dark Walnut by Minwax, with the note to “raise grain in hardwoods before staining.”
  • Tile in kitchen: Bright Snow White Subway Tile from Home Depot
  • Granite: Giallo Santa Cecilia
  • Tile on walls in bathrooms: Polished Biscuit 3″ x 6″ Subway Tile supplied by Emser.
  • Tile on floor in downstairs bath: Alaska Matte 12″ x 24″ Double Loaded Porcelain, Pietra del Nord in Alaska Matte.

Fridrich_Clark_logo_1-14

This home is now on the market! Click here to see this listing at FridrichandClark.com


Liza Graves
About the Author
Liza Graves

As CEO of StyleBlueprint, Liza also regularly writes for SB. Most of her writing is now found in the recipe archives as cooking is her stress relief!