
10 Tips to Take Better iPhone Photos
Are you ready to take your iPhone photography skills to the next level? We've got some pro tips and tricks to help you do just that.

Whether you’re super tech-savvy or barely scratching the surface of your iPhone’s capabilities, chances are that at the very least, you use your iPhone to take photos. You may fancy yourself an amateur photographer, or you may simply be trying to get a decent shot of your nephew taking his first steps. Either way, you’ve likely spent some time working the best angles, playing around with filters and camera modes, or even attempting to edit. Thankfully, there are a few simple tricks to achieve better iPhone photos, and we’ve got the scoop!
10 Tips to Take Better iPhone Photos
Keep the lens clean.
This might be a no-brainer, but a clean lens is everything. If you’ve been pondering why every photo you take is turning out blurry or hazy, your first step should be thoroughly cleaning your iPhone camera lens. Some photographers suggest carefully cleaning with rubbing alcohol on a Q-tip, so long as you aren’t getting moisture in any device openings, but Apple is adamant that cleaning products and compressed air should be avoided. Instead, the Apple support site suggests using a soft, slightly damp, lint-free cloth with warm soapy water. We’ll let you decide on the best procedure, but the ultimate goal remains the same — a clean lens is a lens through which you can take better pictures.
When in doubt, go outside.
Photo lighting is tricky, and iPhone lighting is even trickier since some iPhone camera features — such as portrait mode — aren’t nearly as effective without natural light. When you can, make sure you and your subject are in good, even light. When in doubt about your lighting, professional photographer Leila Grossman suggests heading outdoors, particularly when you’re photographing people. Be sure to stay away from high noon and bright sun, which lead to squinty eyes and shadows galore. “Gray days are your friend,” Leila offers. “An overcast day, a gray day, the hour before sunset … Those are your optimal times outside. People always think, Oh, it’s so gray out, it’s not going to be bright enough, but it’s going to be beautiful. It’s like one big photography umbrella over the sky. The diffused light makes everybody look better.”
If you’re taking pictures indoors, place your subjects by a window if at all possible, but be sure the window doesn’t backlight them. “Use the window as the lighting, not as the background,” Leila advises.


Make use of the grid feature.
At some point, you’ve probably heard about photographers following the “rule of thirds.” This refers to composition guidelines that break down your photo into nine equal parts so you can find a balanced way to frame the most important elements of it. Your ultimate goal is to have your subject land on the gridlines, which typically means the focal point isn’t centered in your frame. The result? A more visually appealing picture.
To turn on your iPhone camera’s gridlines, go to the Settings app, then scroll down and click on your camera. Under “Composition,” turn on the “Grid” function. You will see the intersections appear over the photo you are taking, allowing you to place your subject accordingly.
RELATED: Too Many Photos on Your Phone? Get Your Digital Pics Organized Once & For All
Separate your subject from the background.
In some unspoken photography phenomenon, people tend to back up against a wall when you’re taking a picture of them. “It’s hilarious,” says Leila. “Every time I’m shooting [at] a party, I’ll say, ‘Let me get a shot of you guys.’ Then, they’ll get close together and go right up to the wall. If I were to take a photo like that, they would end up having a picture of them and this great, in-focus portrait of their grandma coming right out of their head, or something that’s on the mantel looks like it’s sitting on their shoulders.” Her advice is to place your subjects approximately eight feet from the background, ensuring that nothing in the background ends up photobombing.

Know when to use HDR mode.
In HDR (high dynamic range) mode, your camera collects multiple pictures at different exposure levels and merges them to create a single uber-detailed photo. If your goal is to take a landscape photo of someone in front of a field of sunflowers on a sunny day, turning on HDR will likely turn your shot into something extraordinary by keeping the backlight from making your subject appear too dark. HDR can also be beneficial for interior photos with too many shadows. The feature is essentially helpful to employ in tricky lighting situations because it offers a more dynamic exposure. Hence, the name high dynamic range. It should be noted, however, that leaving on HDR mode for every picture not only depletes the space on your phone (it occupies more memory because it’s capturing several photos at once), but it isn’t ideal in all lighting situations. For example, if your photo already has vibrant colors, HDR mode will make them appear unnatural or even neon. Sometimes, less is more.
To turn HDR mode on or off, go to your Settings app. Scroll down and click on the camera, then slide the “Auto HDR” function accordingly.

Get eye level.
Though you may have a preferred angle when it comes to snapping selfies, the pros say it’s best to get eye level when you’re photographing certain subjects such as kids, pets or flowers. In other words, be prepared to squat, kneel or crouch down for the best angle. “For kids, pets and dogs, you really want to be looking into their eyes,” offers Leila. “If you’re standing above them, you’re getting a lot of unnecessary stuff. To me, it’s about connection. A lot of the photographs I take of babies and kids are taken on my stomach. I get down as low as I can, so I can look right in their eyes.”
It’s important to note, however, that there are exceptions to this rule. If you’re photographing home interiors, for example, they typically look better photographed from waist level, and the cure for a double chin is photographing from above, so don’t be afraid to try out different angles. The beauty of digital is you can always go back and delete photos you don’t like, so it’s worth playing around until you get the perfect shot.

Don’t always rely on portrait mode.
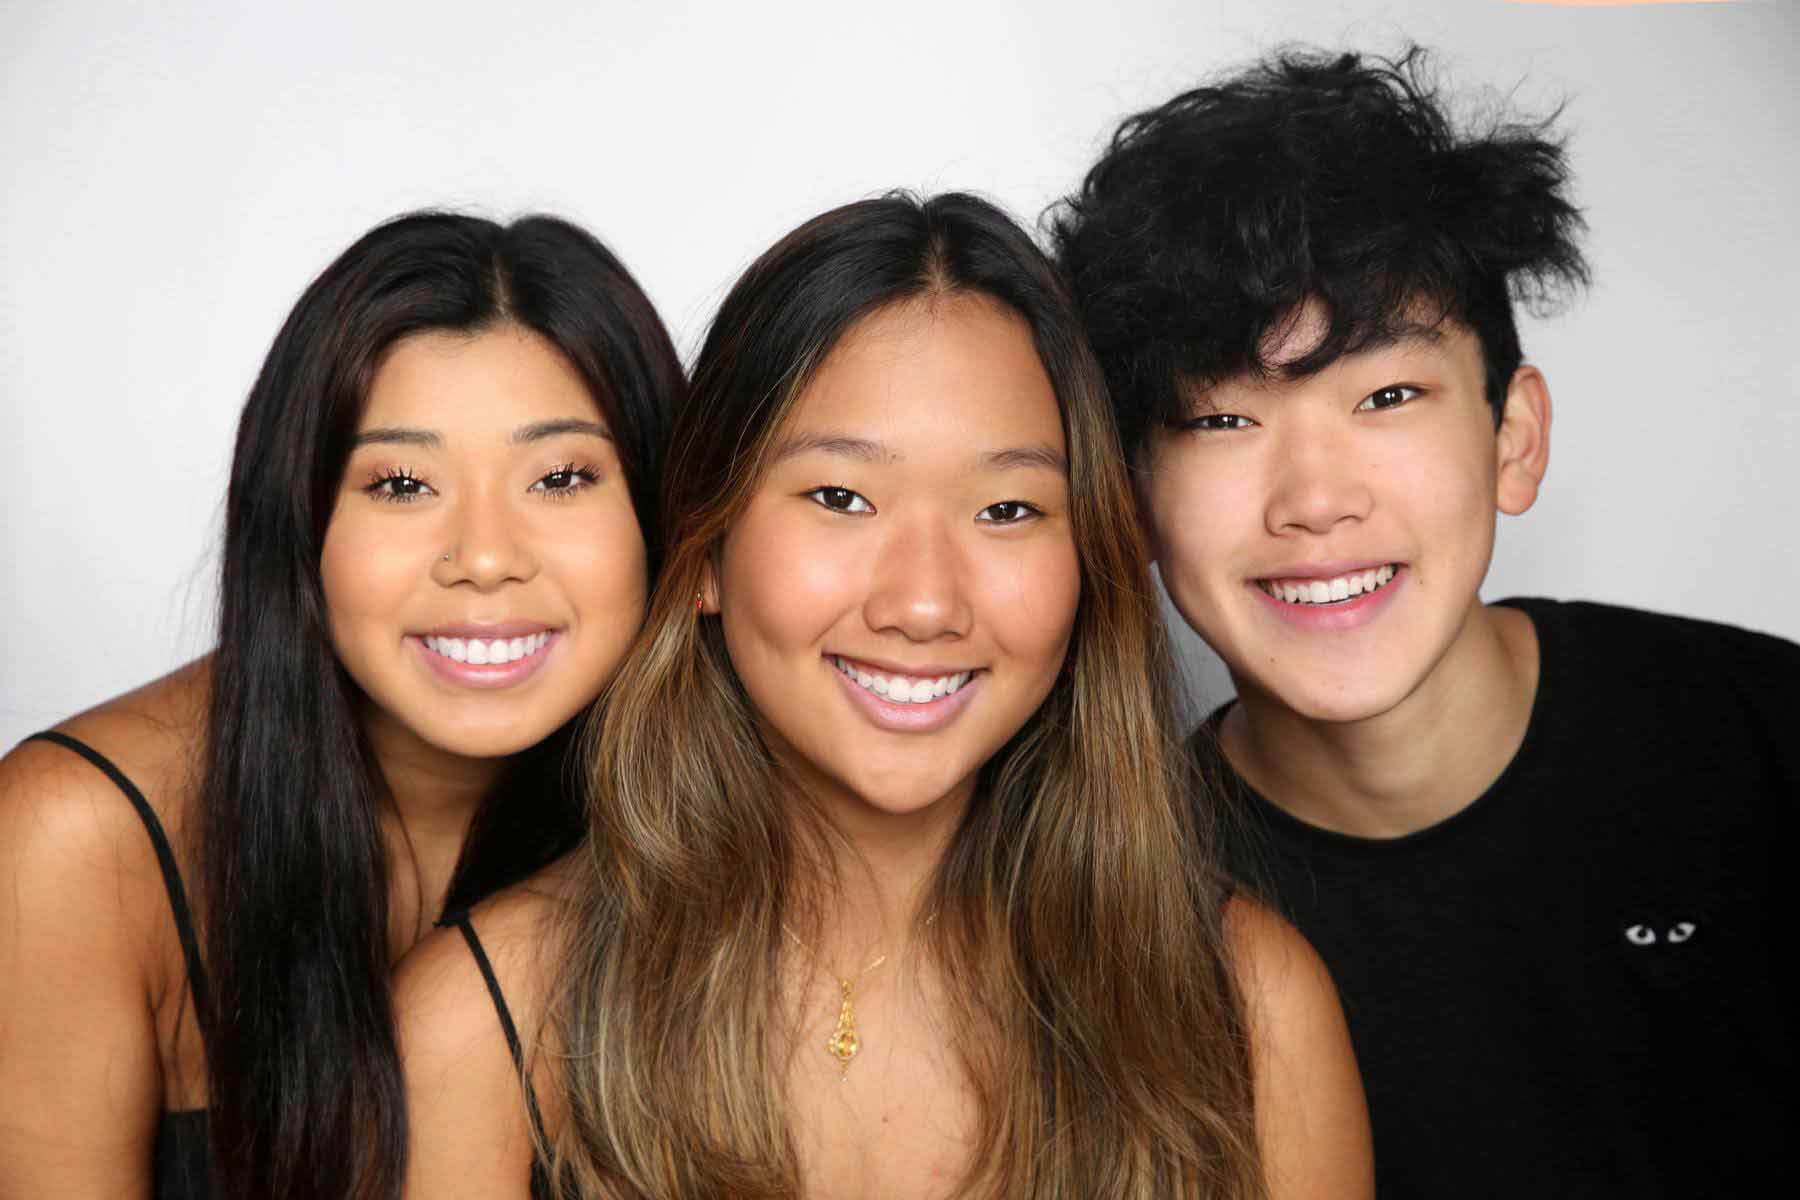
If you’re anything like me, you upgraded your phone as soon as portrait mode became an option. It’s an alluring feature — a mode that blurs the background while putting the subject in focus while also capturing natural light in a way that makes every outdoor photo seem like it was professionally taken. But it doesn’t come without its issues. “Often, portrait mode blurs where the image shouldn’t be blurred because it uses its own technology to isolate the main subject and then blurs all else,” Leila explains. Her professional suggestion is to try to achieve the same effect on the original photo mode by getting as close as you can to your subject and zooming in a little bit. If the background is far enough away from your subject, it will blur out.
It’s also worth mentioning that portrait mode is highly effective in natural light but not as effective indoors. Using portrait mode in low lighting will result in grainy, dull photos, so it’s a good idea to toggle back and forth between modes to ensure you’re getting the best picture possible.

Don’t get overly filter-happy.
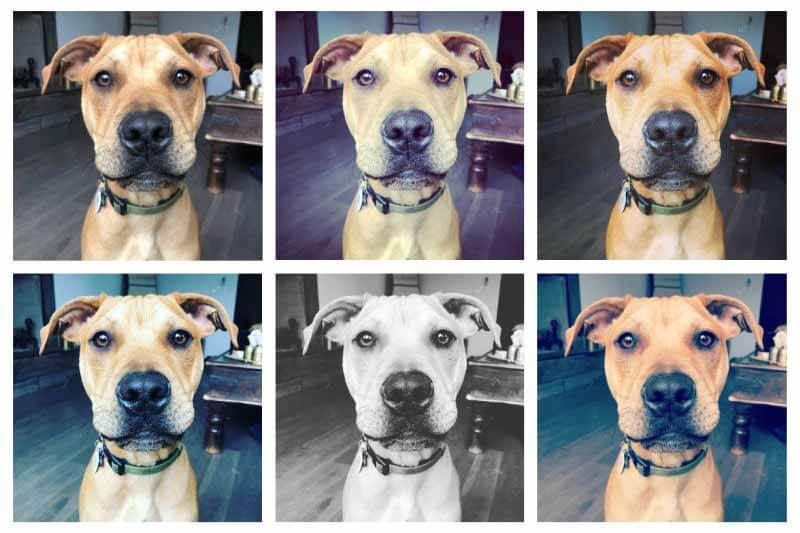
Photo filters are rampant on Instagram, from nostalgic sepia tones to vivid options that look like a scene out of Avatar. Applying filters is really about personal preference — they’re fun to play around with, and they can elevate a photo from mediocre to exciting with the click of a button. With that said, many pros caution against overuse. “I wouldn’t use a filter unless it really makes a photo better,” Leila says. She also suggests erring on the side of restraint when it comes to sharpening images, so it doesn’t become too heavy-handed. Instead, she says to try the auto-adjust option before anything else. “After you take an image, click ‘Edit,’ and ‘Auto’ is the first thing that comes up. That often does the trick to brighten things up, and it might boost the contrast and saturation a little bit, too.”
She’s also a huge proponent of using the easy-access brightening tool. “There’s a great little thing that a lot of people don’t know on their iPhone,” she offers. “If something looks too dark or light, you can tap the screen, and a little sun icon comes up with an up-and-down slide feature. If you go up with the sun, you can brighten your image before taking it. Go down to darken it.”
RELATED: SB Hot List Life Hacks: Our Latest and Greatest
Employ the “burst” feature.
Have you ever accidentally held down the shutter release button on your iPhone camera as you’re taking a picture and wound up with a handful of consecutive photos? That’s called a “burst,” and it’s your saving grace, whether you know it or not. “One of my friends had a great idea,” Leila tells us. “She takes really good selfies — I mean, really good. She’s photogenic anyway, but I was like, How do you do that? I have to take 25 pictures to get a picture of myself that I like. She said, ‘I use burst!’ She takes a burst of herself and moves her head a little bit while she’s smiling, then goes through and picks the one she likes. It’s simple and brilliant.” People blink, move, sneeze and glance away. With the burst feature, there’s a series of photos to choose from, so you have a better chance of finding one that works.
Try to take the perfect photo rather than counting on editing later.
Getting the image you want before taking your photo is key. While there are plenty of fancy bells and whistles when it comes to filters and editing programs, it’s all about the original photo you take. In other words, adjust your angle and lighting from the get-go, rather than trying to fix everything after the fact. “Try to take the perfect photo rather than counting on editing later because it maintains the integrity of the pixels,” says Leila. “The original image is so much easier to edit, and then if you don’t like it, you can go back and edit again.”
We hope these tips help you capture beautiful photos and meaningful memories!
**********
Give your inbox the Southern makeover it deserves. Subscribe to our daily emails!

Jenna von Oy Bratcher
Jenna von Oy Bratcher is StyleBlueprint's Editorial Operations Manager and Lead Content Editor. The East Coast native moved to Nashville almost two decades ago, by way of Los Angeles. She is a lover of dogs, strong coffee, traveling, and exploring the local restaurant scene bite by bite.